
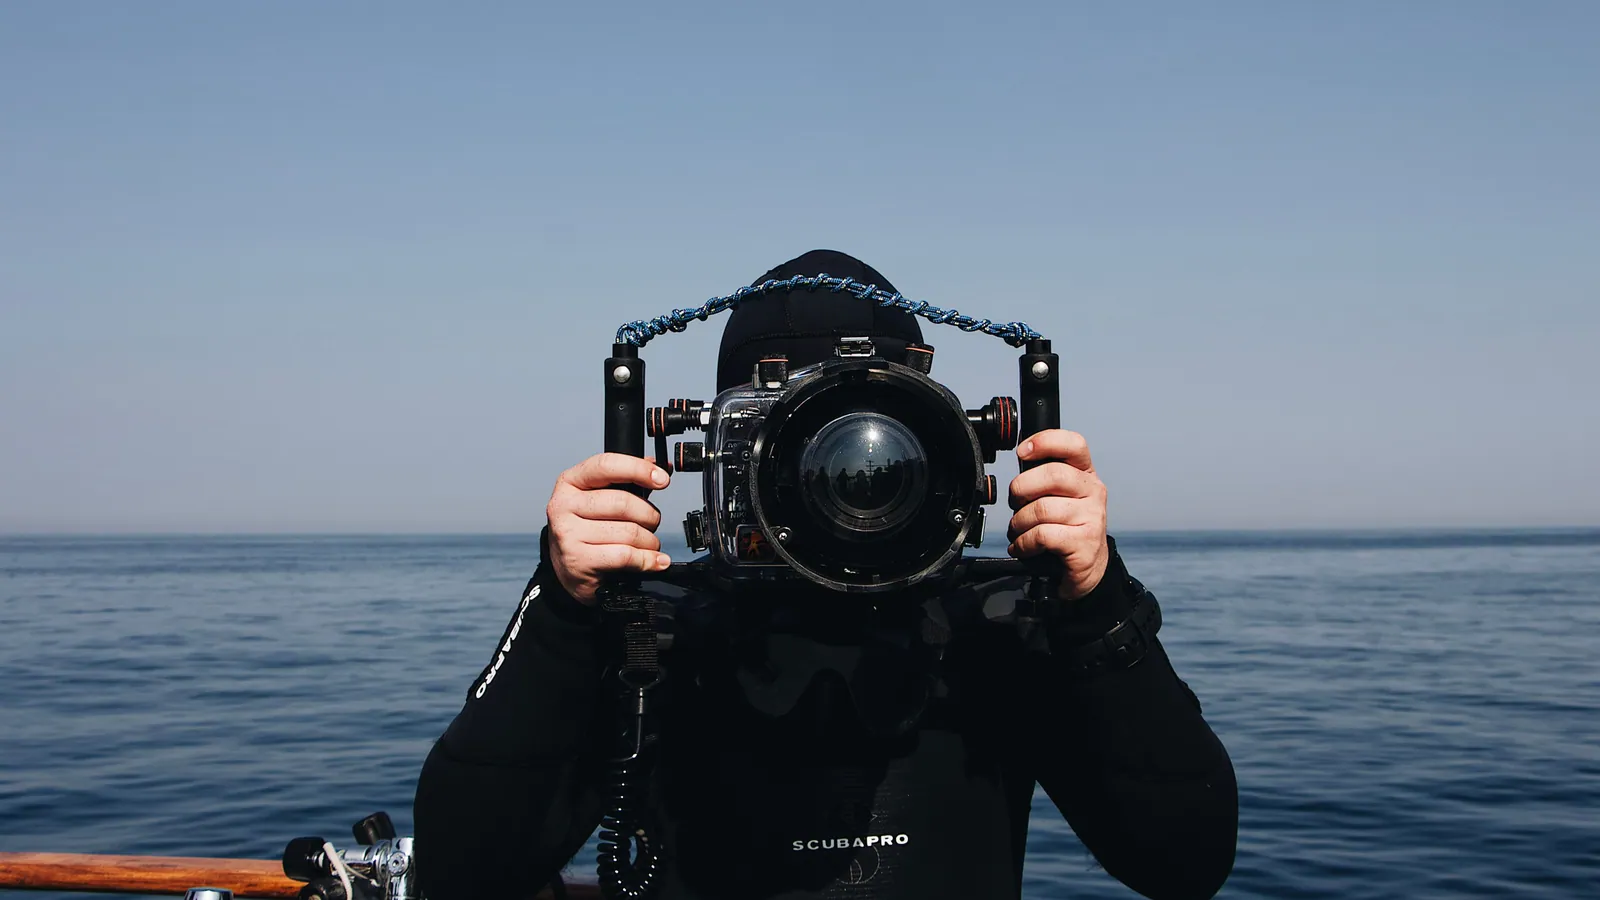
Almost every bad underwater photograph was taken too far away. Water absorbs light and color at a rate that has nothing to do with your camera, and distance is the one variable you fully control.
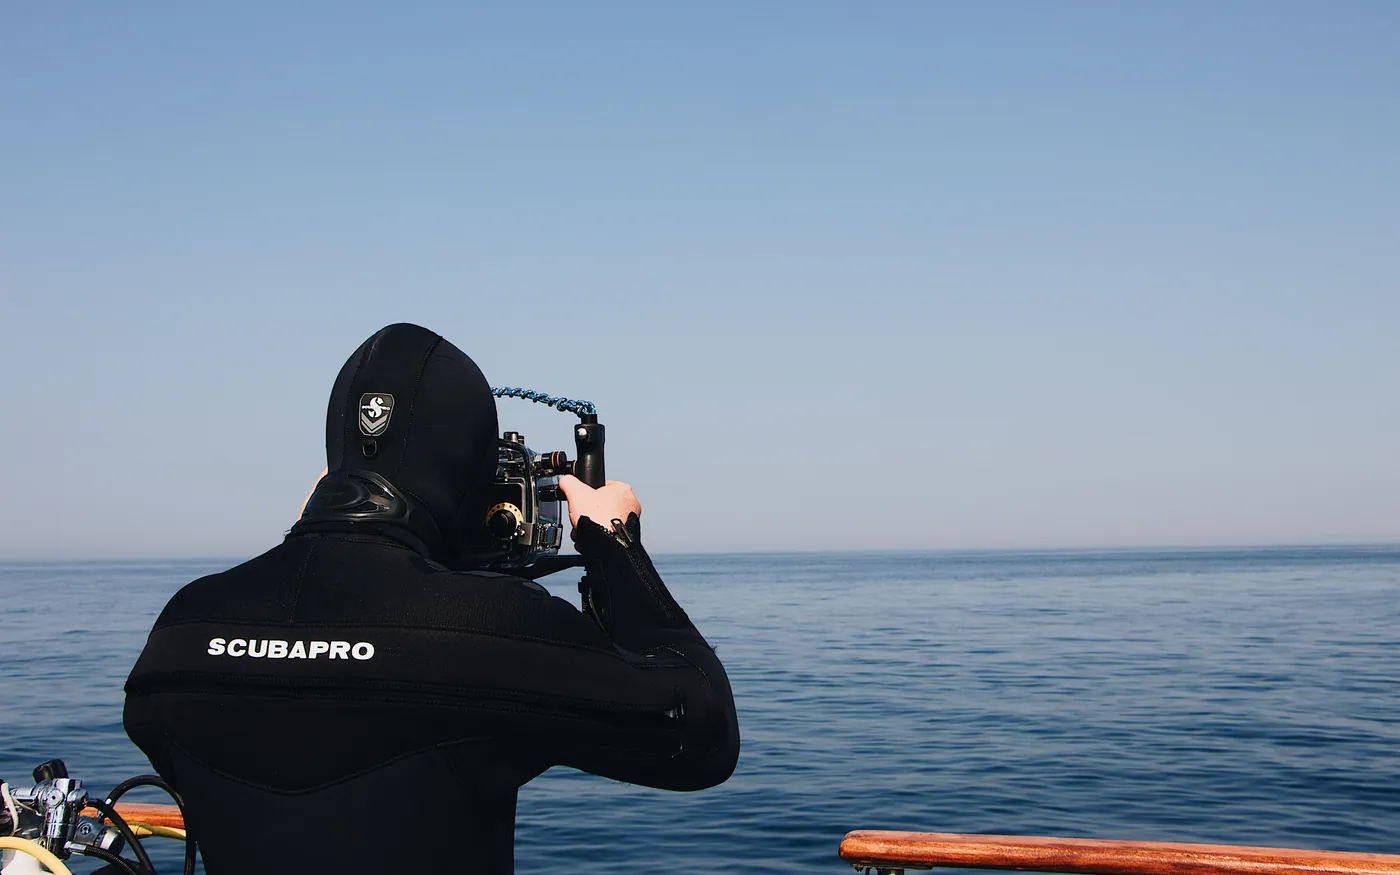
Buoyancy comes before the camera
This is the unglamorous part and it is the part that decides whether your photos are any good.
A photographer who cannot hold position stirs up the bottom, and a cloud of silt ruins the shot along with everyone else’s dive. Worse, they end up bracing on the reef or the wreck to steady themselves, which damages the thing they came to photograph.
The technique people converge on is the frog kick, because it directs the wash from your fins backwards rather than down. Combined with correct weighting it lets you hover a few inches off the bottom indefinitely, which is exactly where you want to be.
If you cannot hold still without touching anything, the camera is premature.
Get closer than feels right
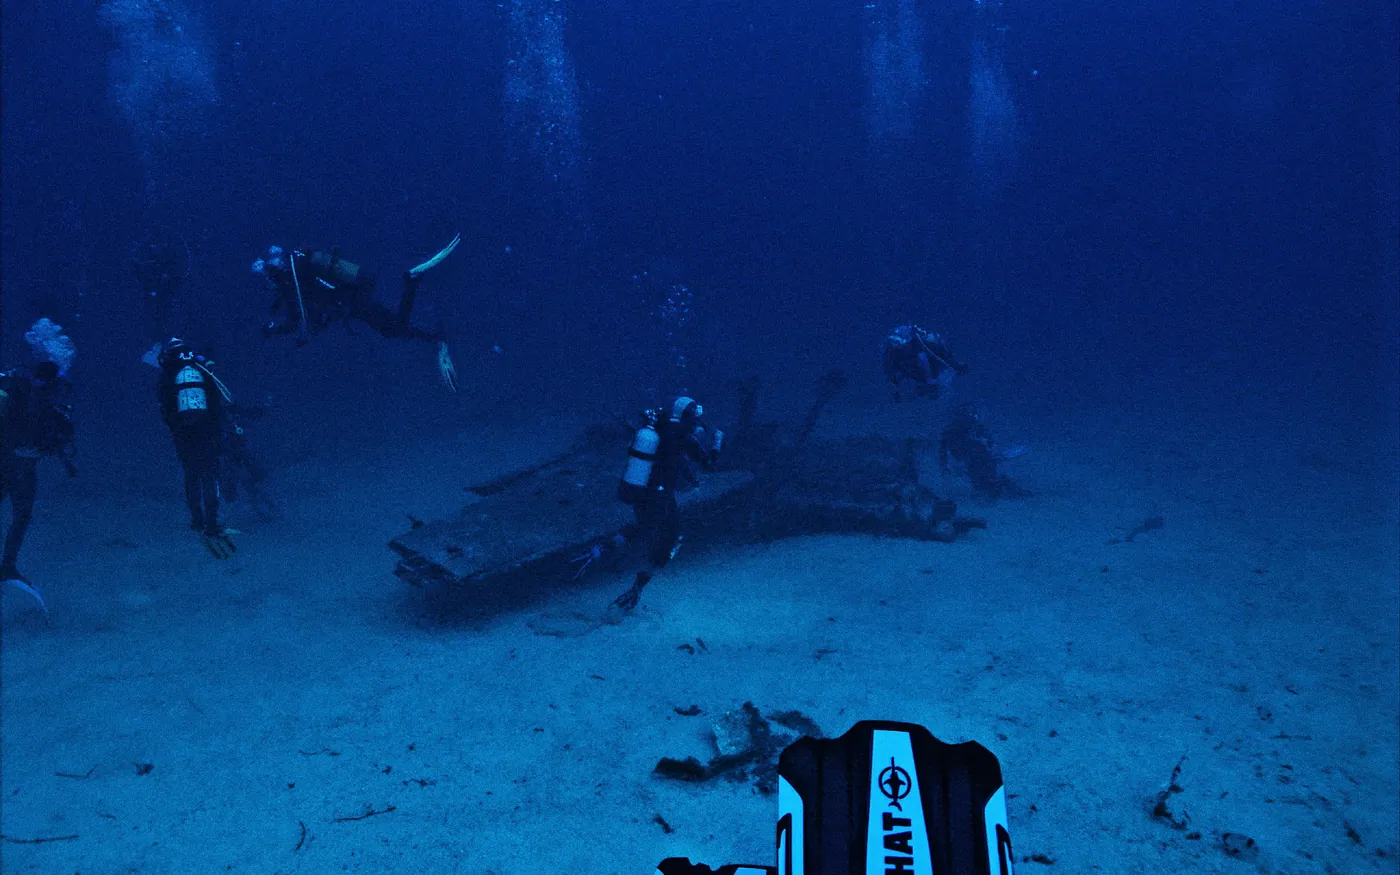
The single most repeated piece of advice in underwater photography is to get closer, and it is repeated because it is both true and hard to internalize.
Every foot of water between your lens and the subject removes light, contrast and color. Even in excellent visibility, contrast and color begin dropping off at around five feet. In green water it happens much sooner.
So the working rule is to stay within a few feet of whatever you are shooting, and to prefer a wide lens that lets you get close while still framing the whole subject. A distant photo of something impressive is almost always worse than a close photo of something ordinary.
What green water is good for
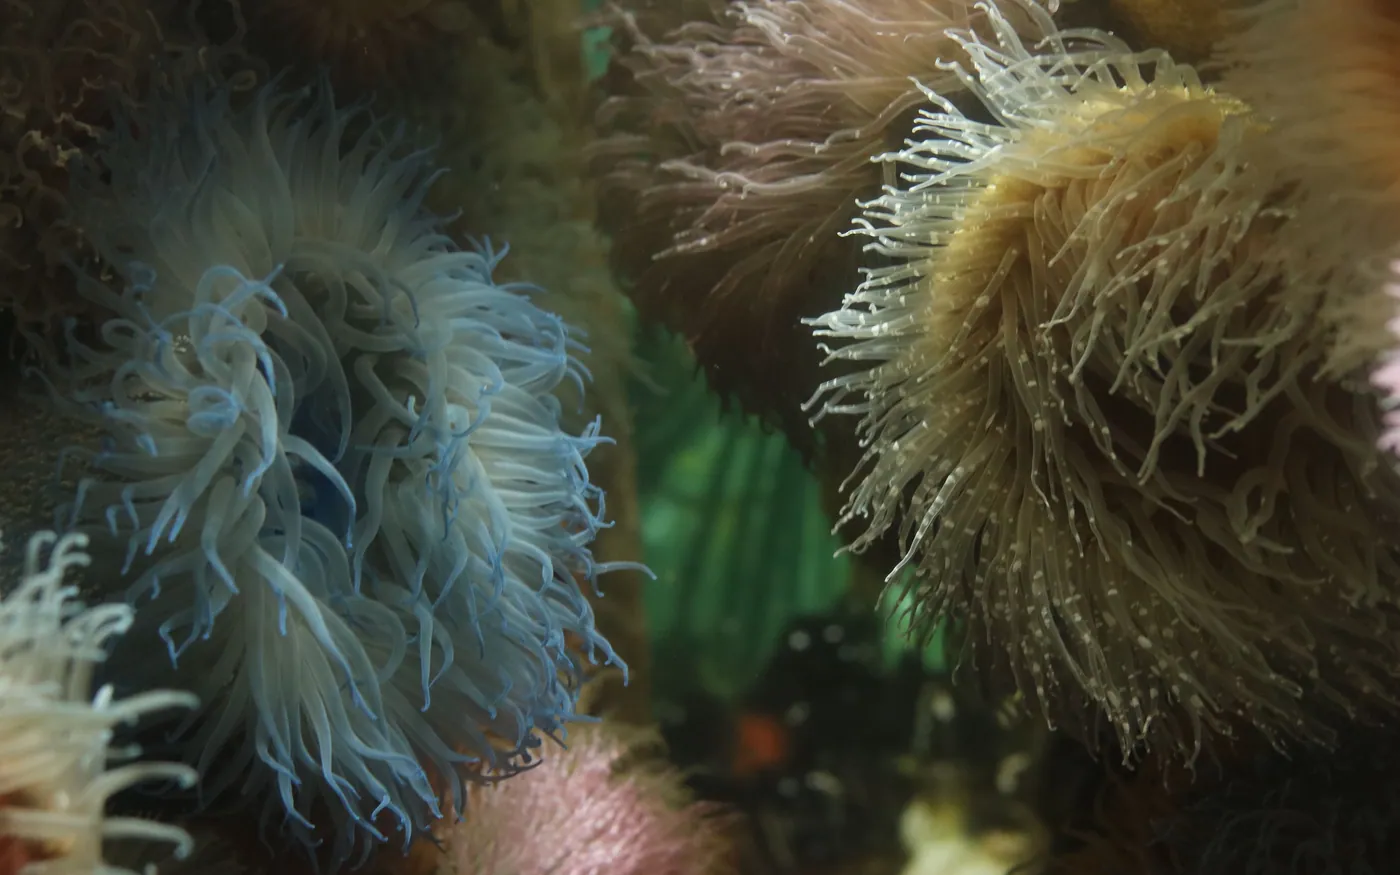
Photographers who learn in the tropics arrive here and conclude the water is unphotographable. They are shooting the wrong things.
Wide scenes need visibility we usually do not have. Macro does not: a subject a few inches from the lens has almost no water in front of it, so color and contrast survive. Anemones, urchins and the encrusting life on rock and wreck are all better subjects here than a wide shot of a reef would be.
That is a genuine advantage rather than a consolation. Our guide to what actually lives down there is effectively a list of macro subjects.
Light, natural and otherwise
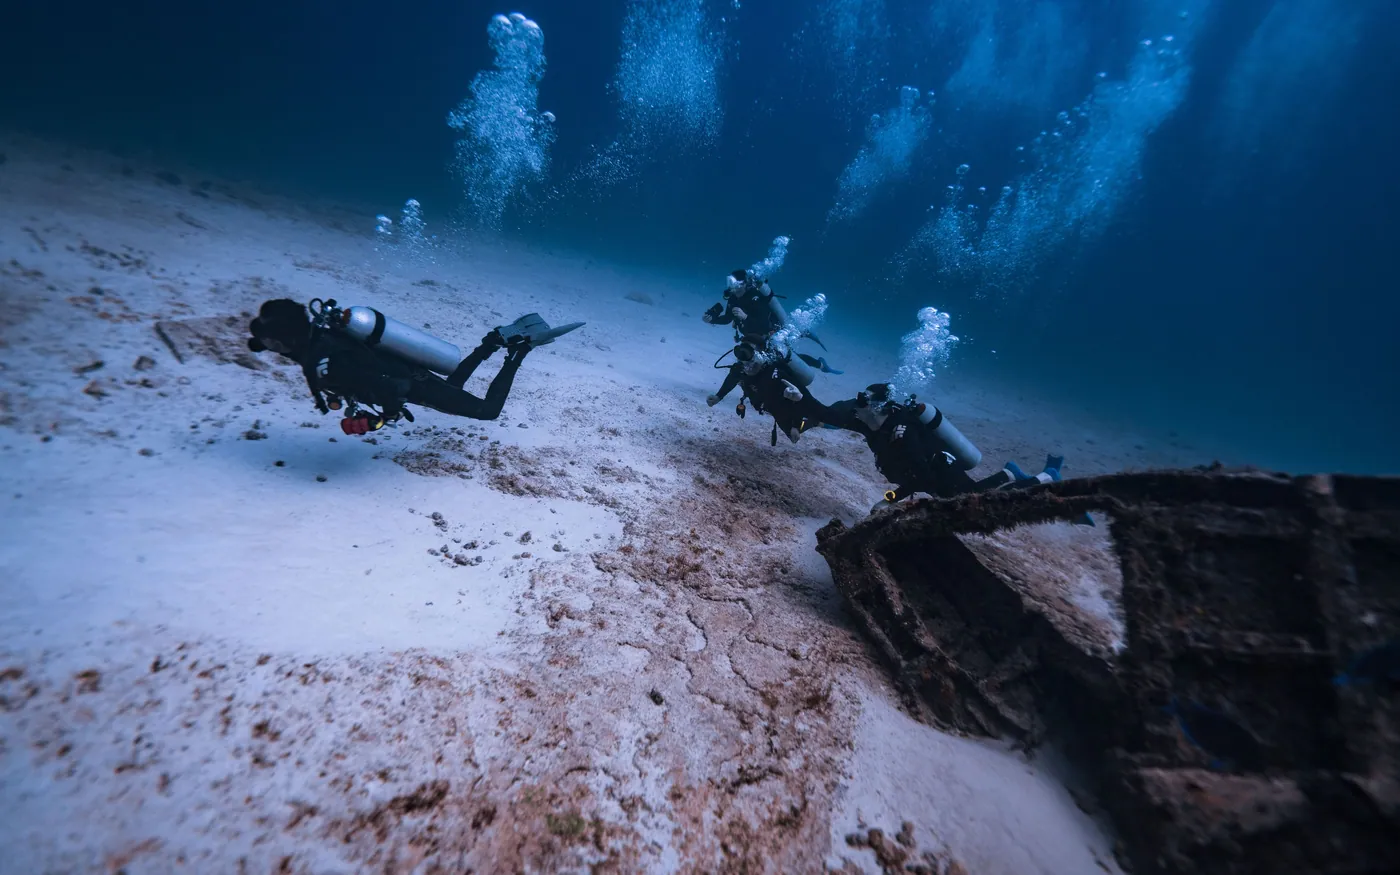
You have two options for light and they lead to different kinds of pictures.
| Natural light | Strobe | |
|---|---|---|
| Where it works | Shallow, bright, clear water | Any depth, close subjects |
| White balance | Custom, or underwater mode | Auto |
| Best for | Silhouettes, sunbursts, wide scenes | Color, macro, detail |
| Placement | Nothing to place | About 12 in from the port, above the lens |
| Main limitation | Color is gone by moderate depth | Backscatter in particulate water |
The reason strobes go above the lens is that natural light comes from above, and lighting a subject from below produces a face nobody recognizes. For sunbursts, stay at 15 feet or less and use a fast shutter speed. SSI has a beginner guide that goes further into settings.
Backscatter, and why your photos have snow in them
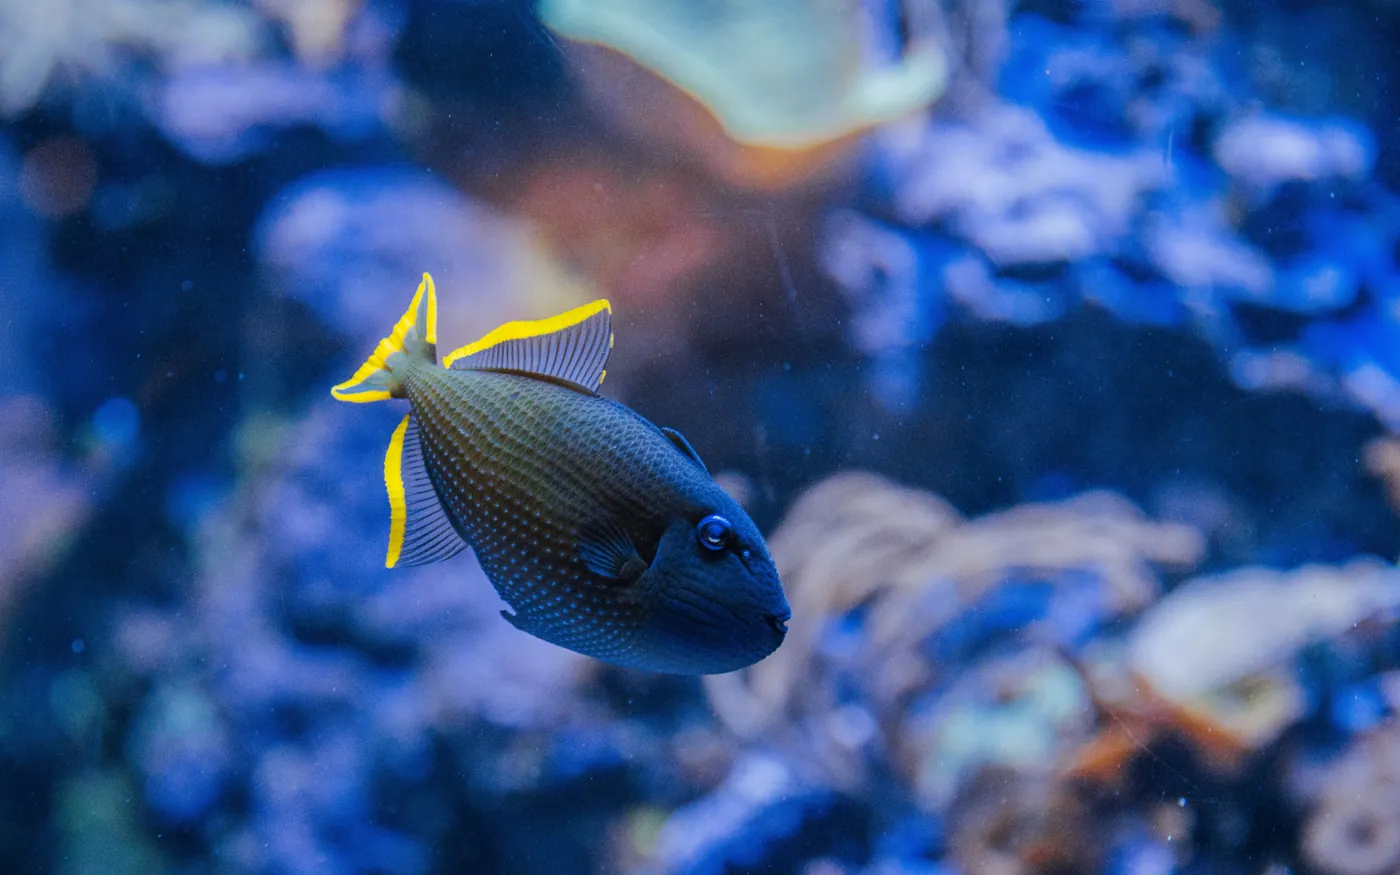
If your strobe photos look like they were taken in a snowstorm, the strobe is lighting the water rather than the subject.
Every particle between the lens and the subject reflects light straight back at the camera. The fix is not less light — it is less water. Get closer, and angle the strobes outward so their beams cross in front of the subject rather than lighting the column directly ahead of the lens.
This is the reason underwater photography rewards clean diving so heavily. Silt you kicked up is backscatter you created.
It is also worth being realistic about how long this takes. Underwater photography has a long apprenticeship, and the first hundred frames are mostly a lesson in how far away you actually were. That is normal, and it is a good argument for shooting a lot rather than carefully at the start.
The rest of the dive still has to happen
The failure mode nobody warns photographers about is not technical. It is that the camera quietly takes over the dive.
A diver working a subject stops watching their gas, drifts deeper without noticing, and loses track of where their buddy went. None of that is dramatic until it is, and it happens to competent divers because the camera is genuinely absorbing in a way that nothing else on a dive is.
The habits that fix it are dull and they work: check your gauge on a fixed interval rather than when you happen to think of it, agree in advance that your buddy will thump a tank if you have drifted, and put the camera down for the last part of the dive.
It is also a reasonable argument for leaving the camera behind on the first dive of a trip, or the first dive after a long gap. Get the diving working, then add the camera back.
The other thing that shortens the apprenticeship is reviewing your own frames properly rather than glancing at them. Almost every failed shot has a diagnosable cause — too far, badly lit, or the subject moved because you chased it — and identifying which one it was is worth more than another dive spent repeating it.
Where to start here
The straightforward route is the digital imaging adventure dive on the Advanced course, because it puts an instructor next to you while you work out how much attention a camera actually costs.
That is worth knowing in advance: a camera competes with your gas, your buddy and your depth for attention, which is why it is a poor idea on your first few dives. Once diving itself is automatic, the camera stops being a distraction — see what the Advanced course covers, and if the gear has been sitting all winter, check it over before you trust a housing underwater.
Frequently asked questions
Do I need an expensive camera to start?
No, and starting cheap is sensible. The limiting factor for a new underwater photographer is almost never the camera — it is how close they get and how still they can hold position.
Why do my photos look blue or green?
Water absorbs red first, so anything more than a few feet away loses its warm tones. The fix is distance and light rather than editing: get closer, and use a strobe or shoot shallow.
What is the single biggest improvement I can make?
Buoyancy. A photographer who can hold position without touching anything keeps the visibility clear and can frame properly. See getting your weighting right.
Should I take a camera on my first few dives?
Better not. A camera is one more thing to manage, and it competes with the attention you need for your gas, your buddy and your depth. Get comfortable first, then add it.
Is there any point photographing in low visibility?
Yes, if you change what you shoot. Green water is poor for wide scenes and good for macro, because a subject a few inches away has almost no water between it and the lens.
Try it with an instructor
The digital imaging dive on the Advanced course is the cheapest way to find out whether you enjoy shooting underwater. Ask us about it.